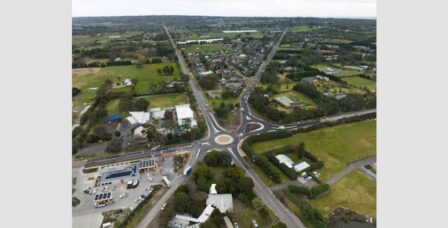
If you own land, or have built a home on a sloping block, landslide risk is something that deserves your attention. Popular residential locations such as the Mornington Peninsula and Yarra Ranges are high risk zones for landslides. Such disasters can cause significant damage to your home and cost you many thousands of dollars.
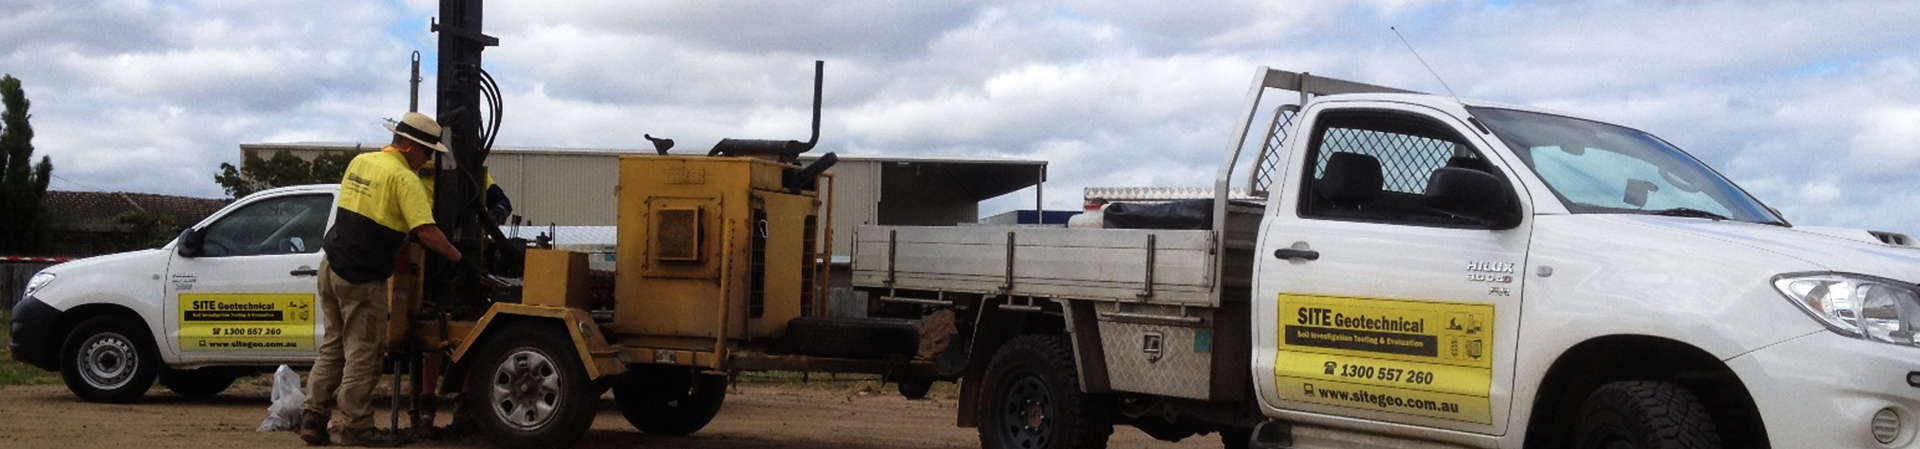
A professional landslide investigation is the best way to determine how much risk your property is at from land slips. Through expert geotechnical services, such as those provided by SITE Geotechnical, Melbourne property owners can get a detailed picture of their soil conditions, drainage patterns and slope stability and know if anything needs to be done to protect their homes.
We’ve put together this seven-step guide to take the mystery out of the process of landslide risk assessment. If you’ve noticed something on your property or just want peace of mind, or need to have the requirements of an Erosion Management Overlay (EMO) here’s everything you need to know. If you have some immediate concerns, call SITE Geotechnical on 1300 557 260 so we can come out and have a look.
Before starting any work on your property you need to know if your property requires a Landslide Risk Assessment (LRA).
Local councils apply Erosion Management Overlays to manage slope stability and landslide risks. If such an overlay covers your property a planning permit is required for most, if not all, earthworks or development. In this situation, an LRA is absolutely required before a permit to work is granted.
Even without an EMO, you can physically inspect your property for triggers or signs that there could be a risk of landslide.
All of these triggers should have you organising an LRA immediately.
Now that you know you need a LRA, you need to employ the services of a professional Geotechnical professional, such as the team at SITE Geotechnical. We are members of Engineers Australia and have a Managing Director with over 23 years of experience in the field.
We will conduct a full desktop study and site inspection; Undertake risk calculation; form a risk treatment plan; produce a report and all the documentation for you and give you sound advice going forward, including a Geotechnical Declaration and Verification Form. if required.

The first part of the process, after engaging our services, is the desktop study. This involves looking at digital imagery and historical documentation about the area in which your property is located.
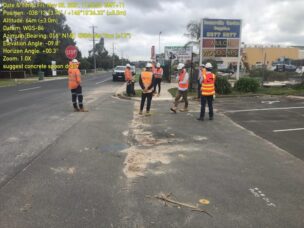
From here, we begin to conduct an on-site inspection. An engineering geologist and/or a geotechnical practitioner walk the property to evaluate actual conditions. It is good to be thorough and not just rely on photographs and satellite imagery.
We check the slope geometry, the height and gradient of your property. Our team checks the vegetation and drainage. Tilted trees indicate land slippage, water pooling can indicate poor drainage. Saturated ground slides much easier down a slope.
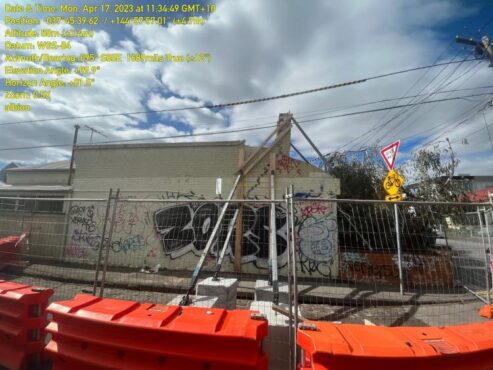
If there is any structural damage to buildings on the property that could indicate land slippage. We look for cracks in walls, bowing in the roof line or other signs of foundation stress. We can also check the conditions on neighbouring properties for similar signs of stress.
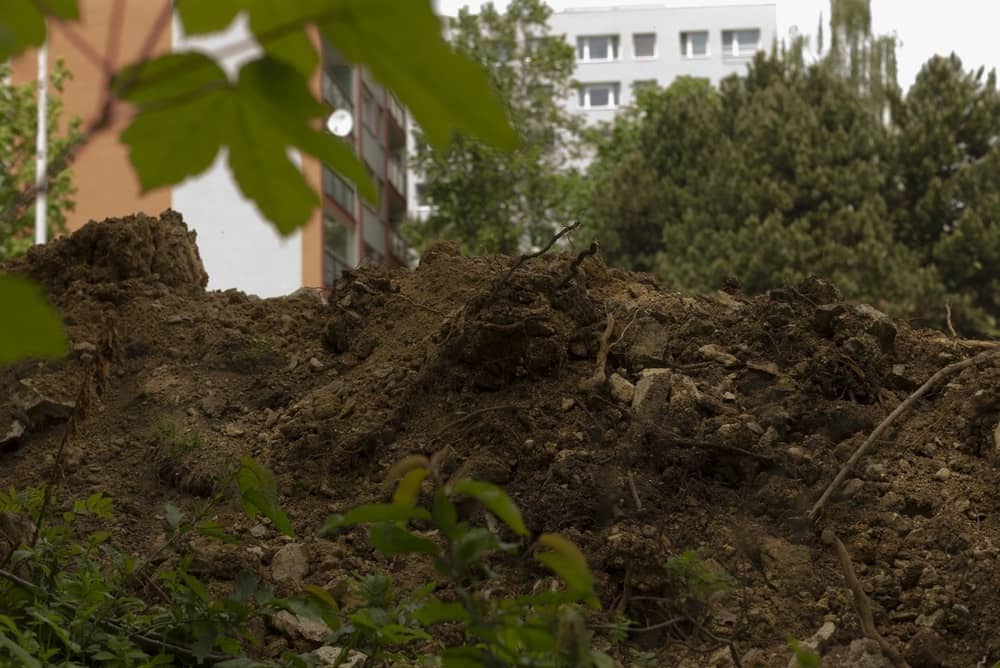
Finally we look for surface signs of land slippage. Loose boulders, erosion channels, things which indicate the potential for landslides.
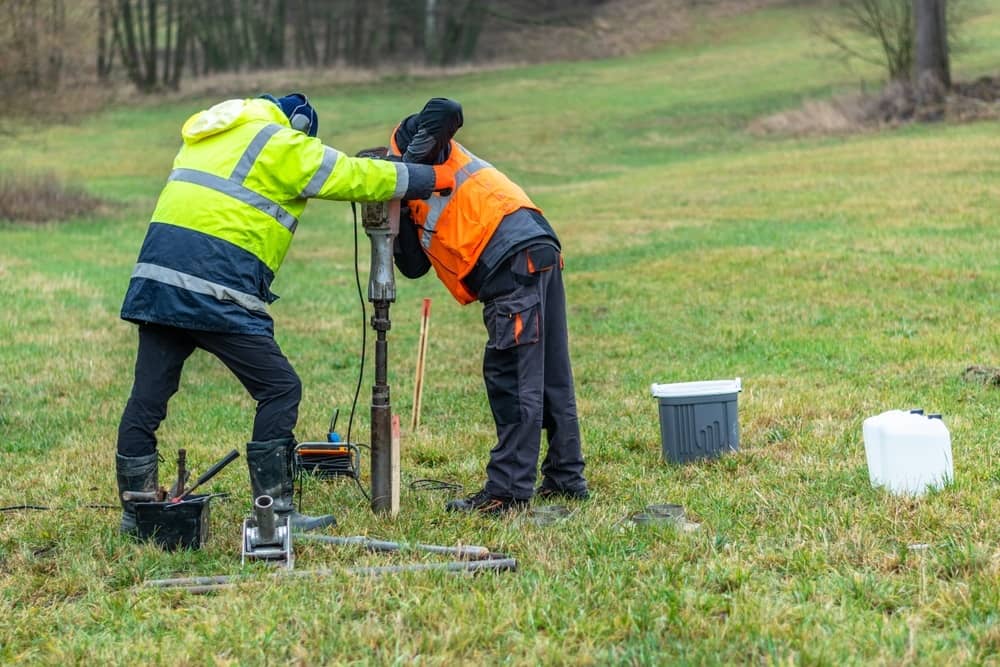
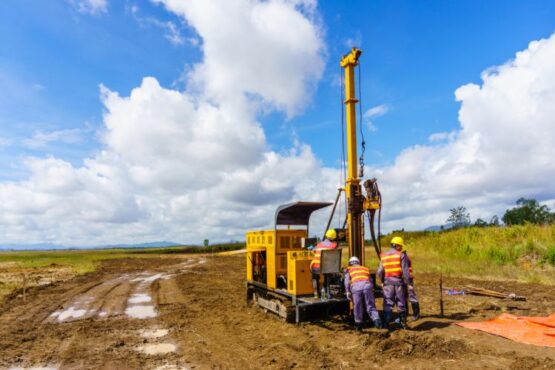
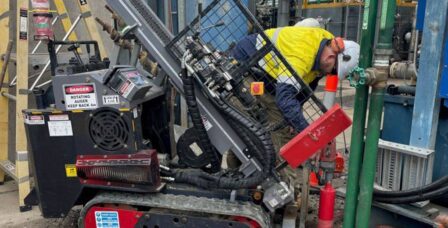
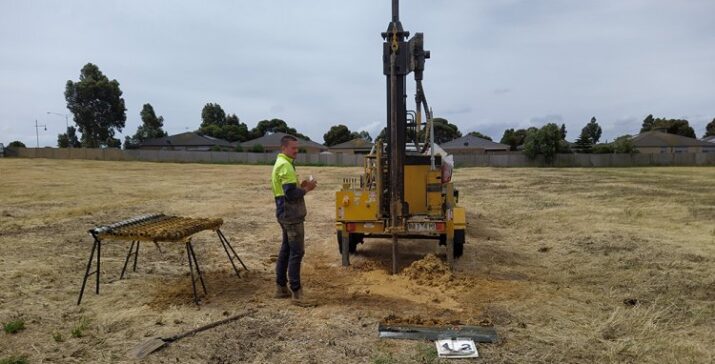
This is the next step for onsite testing, where we go beneath the surface for analysis. Our engineers use several field and lab testing techniques:
Along with these core testing we analyse the stability of the slope. We review the groundwater conditions These are both primary triggers for a landslide and are quite important.
From here we do some computer modelling using special industry geotechnical software to perform limit equilibrium tests /analysis.
From this, we quantify the risk of a landslide in accordance with the Australian Geomechanics Society 2007 Guidelines.

All of the work before now has led to analysis and evaluating the risk to your property. We try to quantify the results to give you as accurate and clear assessment as possible.
We look at three key aspects:
If there is a risk rating higher than ‘low’on your assessment you will need to implement some mitigation measures to help prevent a landslide.
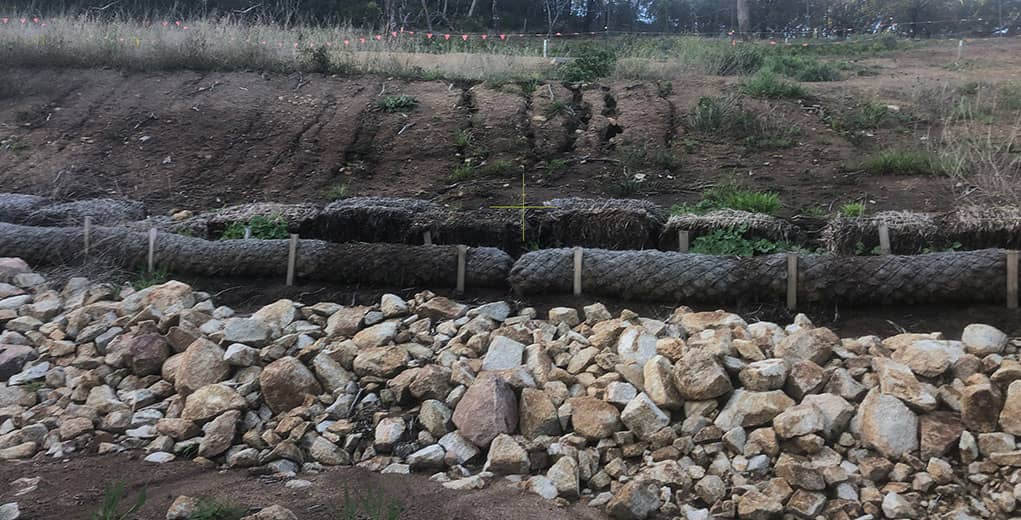
We identify hazards and make suggestions on how to reduce the likelihood of landslides and to reduce the potential damage if one would occur.
Suggestions to reduce the likelihood include:
Ways to reduce the damage and consequences of a landslide can include:
Once the testing and analysis has been completed, the risks and consequences evaluated, this is all consolidated into an LRA report. This report includes
Once all of this is done, we don’t file it away and forget it. There is ongoing monitoring and periodic inspections to check that the land is stable and holding strong. There may be remote sensors installed and more detailed mapping of the area as well.
Landslide risks are a real concern if you own land on a sloping block, but it doesn’t have to be an unknown one. By following these seven steps in this guide you can get a clear picture of your risk and then take the right steps to protect your life and your home.
The earlier you act the more options you have. Preventative measures cost far less than what the damage from a landslide could cause. Having a formal LRA on record can also be invaluable when it comes to planning permits, insurance and future property sales.
Get in touch with the team at SITE Geotechnical to discuss an Landslide Risk Assessment. Get peace of mind for your home and property today.
A successful building project starts with the soil foundation. Learn why conducting a geotechnical survey before construction is crucial for stability and efficiency.
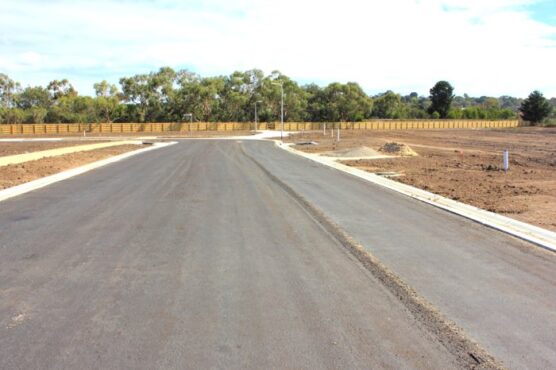
You may not think much about the pavement beneath your feet, but a great deal of planning and preparation goes into the design, creation and laying of pavement. Pavement design in particular needs a lot of careful thought, as it is used in critical infrastructure projects such as the building of major highways, warehouses, large […]
Have you noticed cracks in the walls or ceiling of a building? Are your doors or windows no longer closing easily? Small cracks are no cause for alarm, but larger ones are the signs of a distressed building, and the underlying cause needs to be looked into straight away. A distressed building will need more […]
Having the right or wrong pavement design can make millions of dollars difference in a project. That’s why it’s so important to do your pavement design correctly the first time around, and this includes choosing the right team of pavement engineers for the job. Pavement design is about more than footpaths–it actually influences all kinds […]
Geotechnical site investigations often involve the use of a drilling rig in a wide and open space, but what if the areas you are trying to work on have size or access constraints? In these circumstances, you’ll need access to geotechnical drilling technologies that can work for both small and large-scale infrastructure projects. This is […]

At Site Geotechnical, we understand that wetlands play an essential role in land development projects across the country. While most of our clients are already familiar with their environmental benefits, such as flood mitigation and water quality improvement, our focus is on the geotechnical considerations that can help wetlands perform reliably and sustainably. Let’s discover […]
In the midst of planning a construction project? Whether you’re building a road, a bridge, a commerce centre, or a dam, the earth you’ll be working with can have a profound impact on the success of your project. Geotechnical services consist of many different types of studies and tests on a particular site that delve […]
When you think of recycling, your mind might immediately go to paper or cans, but did you know recycled construction and waste materials play a strong part in pavement design in Melbourne as well? Pavement is everywhere, from our sidewalks and personal driveways to roads, construction platforms and rail trails. Expanding cities are constantly creating […]
For two decades, SITE Geotechnical Pty Ltd has been at the forefront of geotechnical engineering, providing expert investigations and recommendations that ensure strong, lasting foundations for infrastructure and development projects. Our journey from a small consulting firm to a leading geotechnical service provider in Victoria has been defined by innovation, expertise, and an unwavering commitment […]
In the world of infrastructure, maintaining and upgrading pavements is a constant challenge. Victorian roads endure heavy traffic, harsh weather, and can simply wear down over time, often leading to deterioration that demands action. Historically, a full reconstruction—ripping out old pavement and starting fresh—has been the go-to solution. But there’s a smarter, more sustainable alternative: […]